Master Perfect Hard-Boiled Eggs: Our Foolproof Stovetop Guide
Hard-boiled eggs are a true culinary chameleon. From a quick, protein-packed breakfast or snack to the foundation of beloved dishes like deviled eggs, egg salad, and potato salad, their versatility is unmatched. Yet, despite their apparent simplicity, achieving that elusive "perfect" hard-boiled egg can feel like a kitchen mystery for many. Rubber-like whites, stubborn shells, or the dreaded gray-green ring around the yolk are common frustrations.
But what if we told you there’s a foolproof stovetop method to consistently make perfect hard boiled eggs every single time? One that guarantees vibrant, sunshine-bright yolks, tender whites, and effortless peeling? This comprehensive guide will demystify the process, transforming you from an egg-boiling novice into a confident pro. While there are certainly other convenient methods out there – from Instant Pots to air fryers – the classic stovetop approach, when done correctly, remains the most reliable and accessible for consistently flawless results.
Why Mastering Hard-Boiled Eggs Matters
Beyond being a simple food item, perfectly cooked hard-boiled eggs elevate any dish they grace. Imagine a creamy, rich egg salad where the yolks are bright yellow and never crumbly, or deviled eggs with a silken, fluffy filling. The difference between an average hard-boiled egg and a perfect one is significant, impacting both taste and texture.
- Nutritional Powerhouse: Eggs are an excellent source of high-quality protein, essential vitamins, and minerals, making them an ideal choice for a healthy diet. Having a batch of hard-boiled eggs on hand means healthy snacks and meal components are always just a peel away.
- Versatility Unleashed:
- Classic Comforts: Deviled eggs, egg salad sandwiches, chopped salads, potato salad.
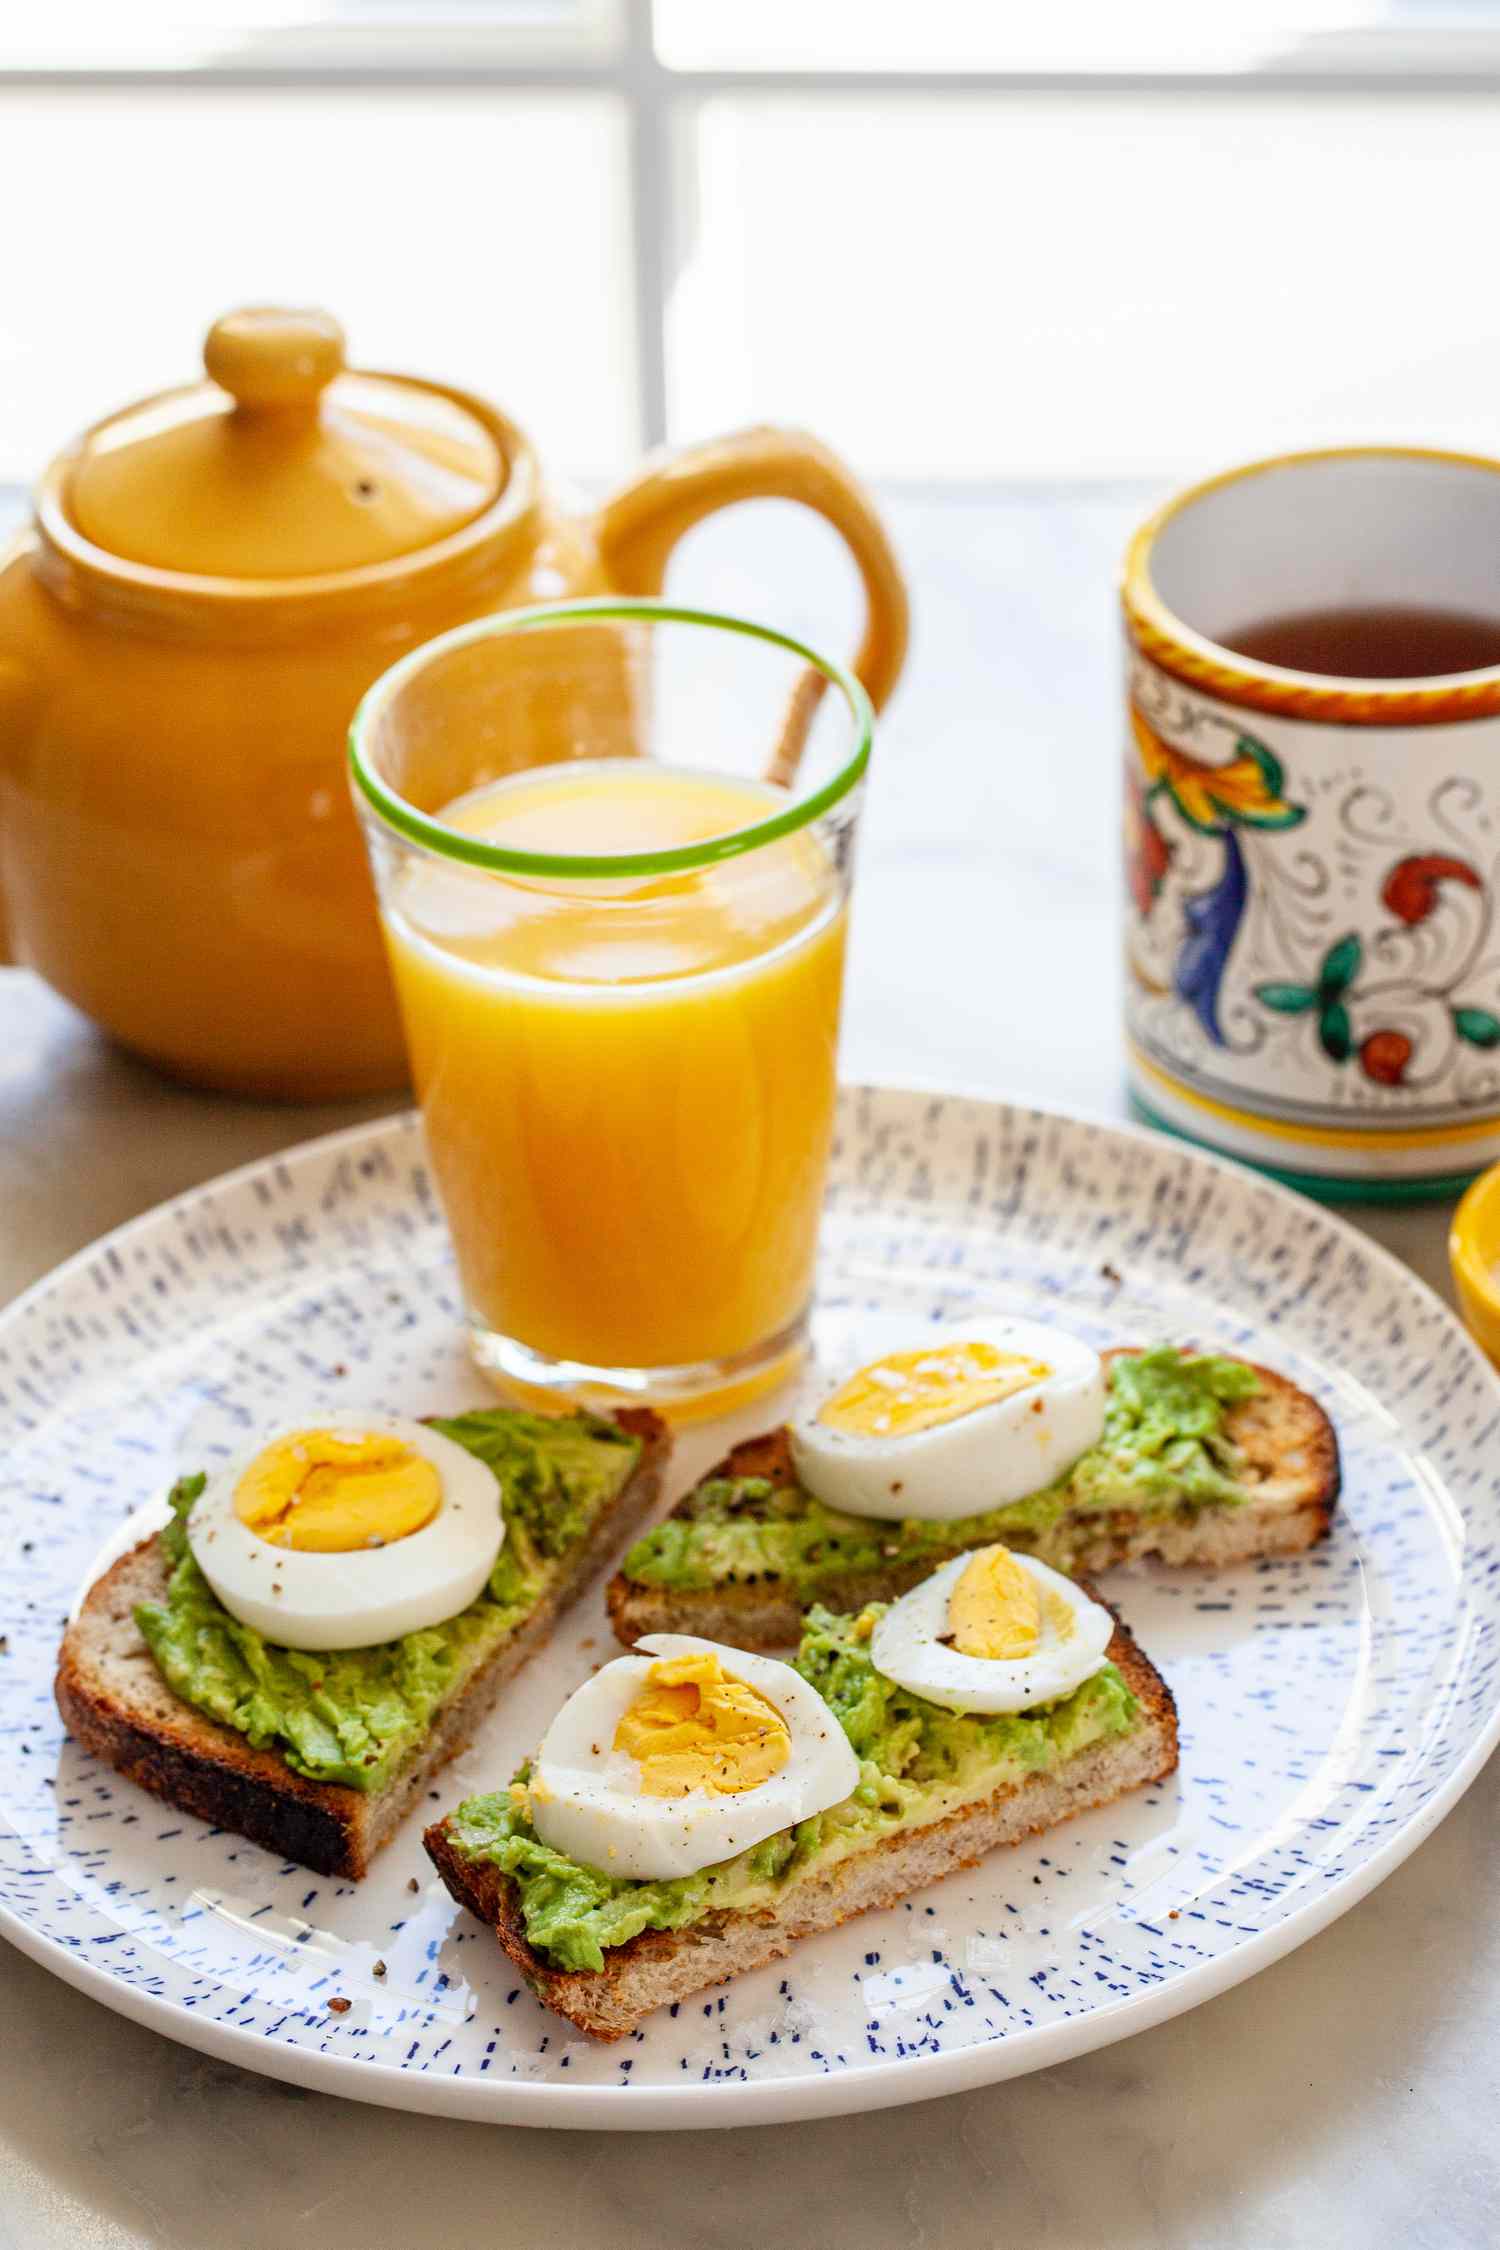
- Modern Flair: Sliced over avocado toast, crumbled into grain bowls, or as a protein boost for instant ramen (especially a jammy medium-boiled egg).
- Quick & Easy: A grab-and-go breakfast or snack that keeps you full and energized.
- Eliminate Common Pitfalls: Our method specifically addresses and prevents the most common issues:
- The Gray Ring: That unappetizing greenish-gray layer around the yolk is caused by overcooking, where sulfur in the egg white reacts with iron in the yolk. Our precise timing eliminates this.
- Rubbery Whites: Overexposure to high heat makes egg whites tough and unappetizing.
- Difficult Peeling: A properly cooked and cooled egg will shed its shell with remarkable ease, saving you time and frustration.
Mastering this essential kitchen task unlocks a world of culinary possibilities and ensures every egg dish you create is a triumph.
The Foolproof Stovetop Method: Step-by-Step to Perfection
The secret to how to make perfect hard boiled eggs lies in a controlled cooking process that minimizes direct high heat exposure. Forget aggressive boiling; our approach is gentler, leading to superior texture and color.
1. Preparation is Key
- Choose Your Eggs Wisely: While any eggs will work, slightly older eggs (about 7-10 days past their carton date, but still well within their expiry) tend to peel much easier than very fresh ones. The air pocket inside expands over time, making separation from the shell simpler. If you're unsure if an egg is too old, perform a float test: place it in a bowl of water; if it sinks, it's fresh. If it stands on end, it's older but still fine. If it floats to the surface, it's rotten and should be discarded.
- Room Temperature Eggs: For the most even cooking and to significantly reduce the risk of cracking, remove your eggs from the refrigerator at least 30 minutes before you plan to boil them. This gradual temperature change is crucial.
- Gather Your Tools: You'll need a saucepan large enough to hold your eggs in a single layer, a lid that fits snugly, a slotted spoon, a timer, and a large bowl filled with ice water (an "ice bath").
2. The Gentle Cooking Process
- Cold Water Start: Place your room-temperature eggs gently into the bottom of the saucepan in a single layer. Pour cold tap water over the eggs until they are covered by at least one inch. Using cold water and gradually bringing it to temperature helps prevent the whites from becoming rubbery and reduces shell cracking.
- Bring to a Rapid Boil: Place the saucepan over high heat. Bring the water to a full, rolling boil. You'll see large, active bubbles breaking the surface, and the eggs might "dance" slightly.
- Remove from Heat & Cover: The instant the water reaches a full boil, immediately remove the pot from the heat source. Do NOT continue boiling. Quickly cover the pot tightly with a lid. This crucial step allows the residual heat in the water to gently cook the eggs without exposing them to harsh, direct high heat.
- The Critical Stand Time: This is where you determine your desired yolk consistency. For fully perfect hard boiled eggs with firm, bright yellow yolks, let the eggs stand in the hot, covered water for 15 minutes.
(See "Achieving Your Ideal Yolk" below for other doneness levels.)
- Immediate Ice Bath: As soon as the stand time is up, use a slotted spoon to carefully transfer the eggs from the hot water directly into your prepared ice bath. This step is non-negotiable! The immediate plunge into ice water stops the cooking process instantly, preventing overcooking (and thus, gray yolks), and also helps the egg whites contract, making them significantly easier to peel. Let the eggs cool in the ice bath for at least 5-10 minutes, or until they are completely cool to the touch.
Achieving Your Ideal Yolk: A Timing Guide
The beauty of this method is its precision. By simply adjusting the stand time in the hot water, you can achieve any level of doneness, from beautifully runny to perfectly firm. These times are based on large eggs cooked at sea level.
- Soft-Boiled Eggs (6 minutes stand time): The whites will be set, but the yolks will be wonderfully runny and silky, perfect for dipping toast or elevating instant ramen noodles.
- Medium-Boiled Eggs (9 minutes stand time): The whites are fully set, and the yolks will be mostly set with a delightful jammy, gel-like texture. Excellent for avocado toast or grain bowls.
- Firm-Boiled Eggs (12 minutes stand time): You'll achieve yolks that are firm but still slightly soft and creamy in the very center, offering a pleasant balance of texture.
- Hard-Boiled Eggs (15 minutes stand time): This is our sweet spot for make perfect hard boiled eggs. The yolks will be fully hardened, consistently bright yellow from edge to edge, and have a non-chalky, creamy texture. Ideal for all your classic hard-boiled egg recipes.
For a deeper dive into timing and achieving various yolk consistencies, check out our guide on Unlock Perfect Hard-Boiled Eggs: Timing for Soft to Firm Yolks.
Troubleshooting & Advanced Tips for Perfect Peeling and Vibrant Yolks
No More Gray Yolks!
The gray or greenish ring around the yolk, often accompanied by a sulfuric smell, is a sure sign of overcooking. It's caused by a chemical reaction where sulfur from the egg white combines with iron in the yolk, forming ferrous sulfide. Our cold water start, immediate removal from heat, and precise stand time prevent this by ensuring the eggs cook gently and are immediately cooled, stopping the reaction before it can occur. Your yolks will remain sunny and vibrant.
Secrets to Effortless Peeling
Difficult peeling is one of the most common frustrations. Here’s why our method excels:
- Slightly Older Eggs: As mentioned, older eggs (not rotten!) have a larger air pocket that helps separate the membrane from the shell.
- Room Temperature Start: Reduces cracking and promotes more even cooking, which aids in peeling.
- The Ice Bath is Critical: Rapid cooling causes the egg white to contract, pulling it away from the shell's inner membrane. This creates a tiny gap, making peeling significantly easier.
- Peel Under Water: For particularly stubborn eggs, try peeling them under cool running water or submerged in the ice bath. The water helps get under the membrane and wash away small shell fragments.
- Gentle Cracking: Gently tap the wide end of the egg on a hard surface to crack the shell. Then, roll the egg between your palms to create a network of fine cracks before peeling.
For more insights on peeling and avoiding discolored yolks, read our article: No More Gray Yolks: Easy-Peel Hard-Boiled Eggs 5 Ways.
Adjusting for Altitude and Egg Size
- High Altitude: At higher elevations, water boils at a lower temperature. This means eggs will require a slightly longer stand time to reach the same level of doneness. As a general rule, add 1-2 minutes to the stand time for every 1,000 feet above sea level.
- Egg Size: Our timing is based on large eggs. If you're using medium eggs, reduce the stand time by 1-2 minutes. For extra-large or jumbo eggs, increase the stand time by 1-2 minutes.
Storage Tips
Once cooled, hard-boiled eggs can be stored in the refrigerator for up to one week. You can store them in their shells or peeled in an airtight container. Keeping them in their shells can sometimes help them last a little longer and prevent them from absorbing fridge odors, but peeled eggs are ready for immediate use.
Conclusion
Learning how to make perfect hard boiled eggs is a fundamental kitchen skill that pays dividends in convenience, nutrition, and culinary enjoyment. By adopting this foolproof stovetop method – starting with cold, room-temperature eggs, bringing to a boil, removing from heat for precise stand times, and finishing with an immediate ice bath – you'll consistently achieve beautifully cooked eggs with tender whites, vibrant yolks, and shells that peel away with ease. No more gray rings, rubbery textures, or frustrating peeling sessions. Embrace this technique, and enjoy the endless possibilities that perfectly hard-boiled eggs bring to your table!
